Van Build
A blog full of van projects to help guide you and assist you with your build! Easy to read and pictures included. We hope this makes your van build easier and more enjoyable! We’ll be posting a new guide every week.
Message us for project requests or if you have any questions!
DIY Hangboard

DIY Hangboard (The Cheapest way)
Materials:
Miter saw
Jigsaw
Drill
Driver
Router
Round over router bit
1” Hole saw bit
80 grit sand paper
160 grit sand paper
Spray adhesive
2x6 wood
½” ply
Paint and stain (optional)
We started by measuring the length of our sliding door and determining where we wanted to mount the hangboard. We then determined the ultimate length we wanted the hangboard by where it was going to be mounted.

We cut the 2x6 board to length and mapped out exactly where we wanted the finger holes, making sure they were symmetrical on each side. We knew we wanted different widths for each set of holds, some for four fingers, some for one or two, and even an area for slopes.

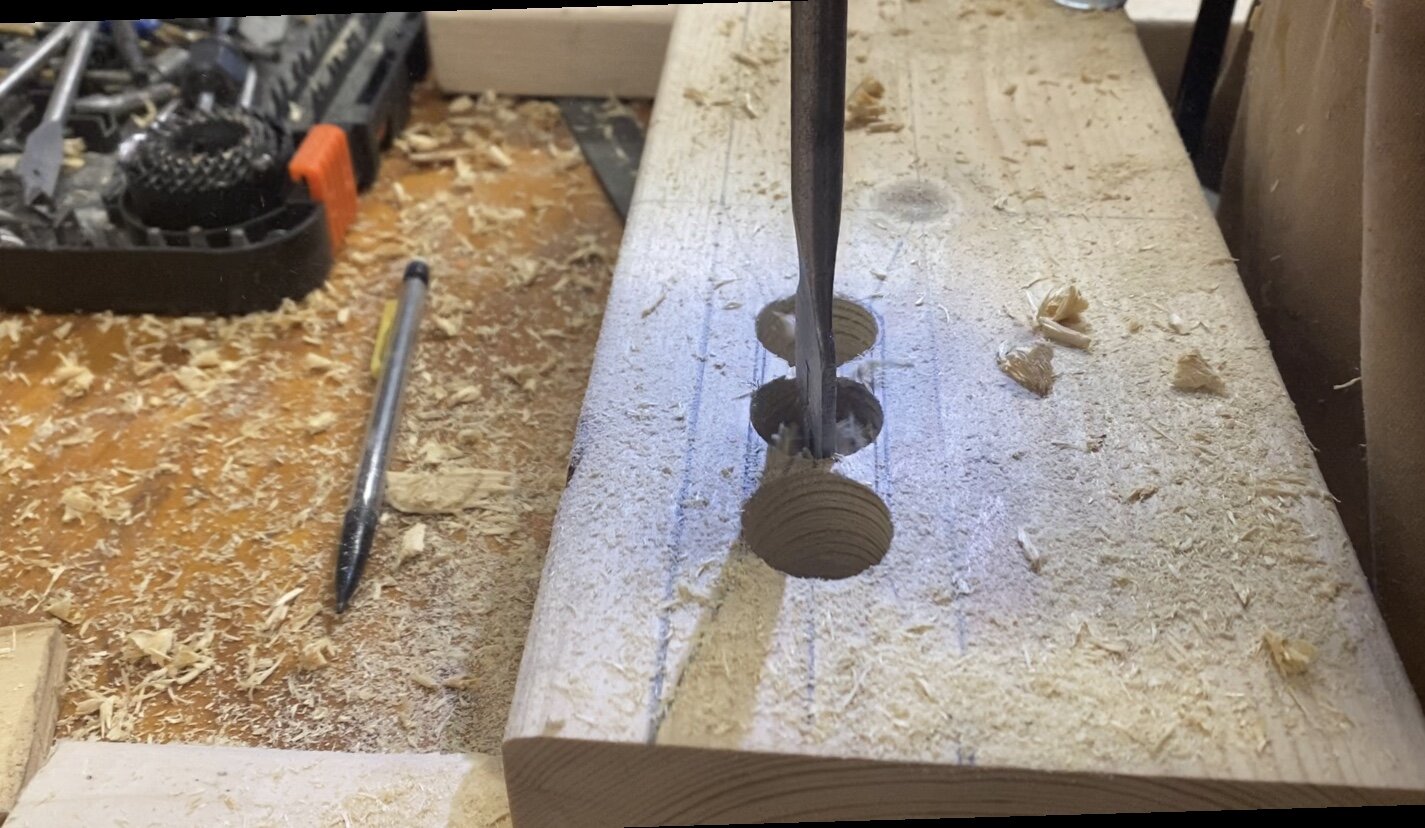
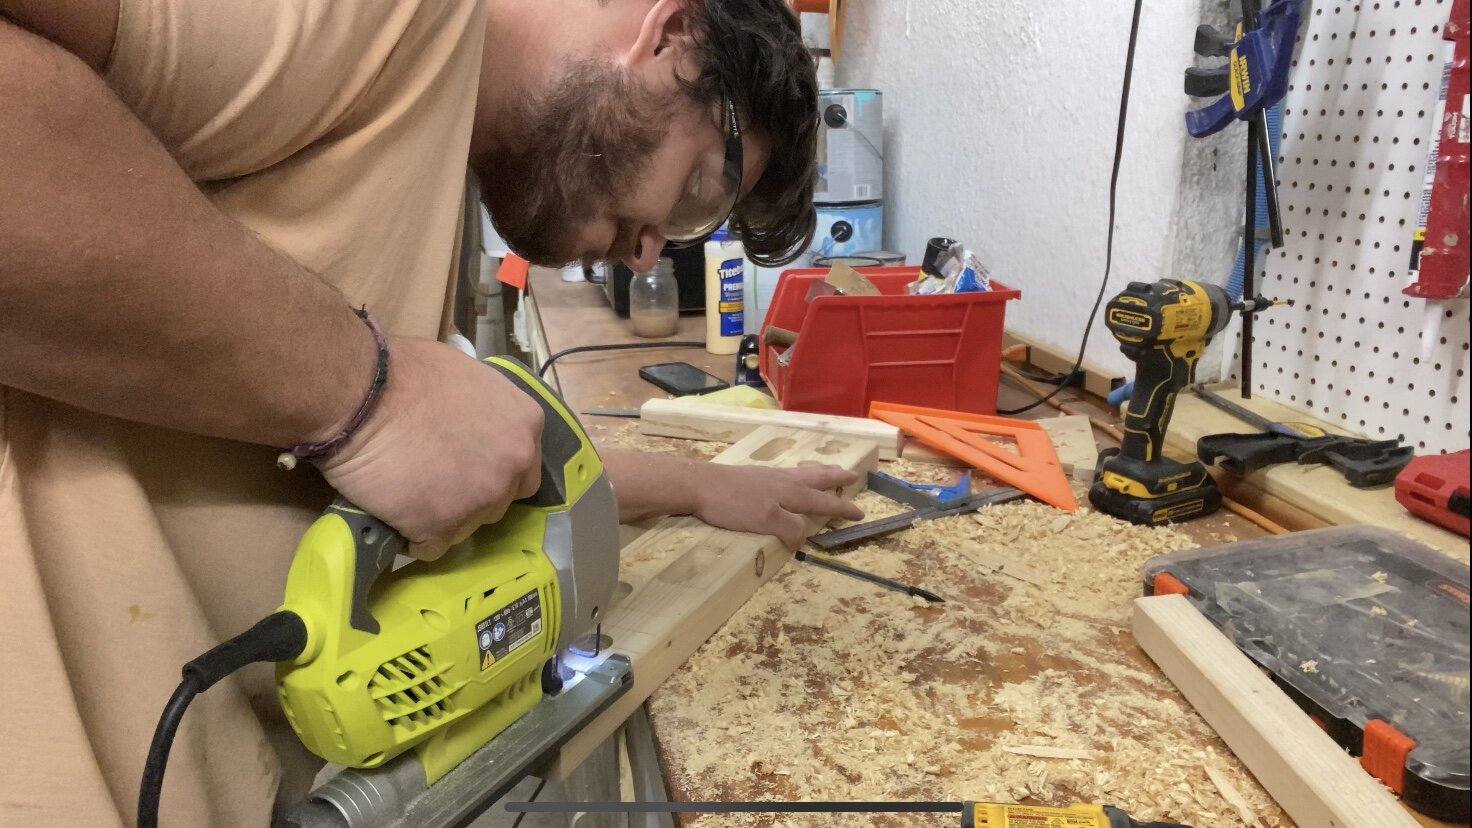
Once the holds were marked out, using a hole saw we drilled out where we marked, drilling all the way through the wood. For the larger holds we had to drill multiple holes and then finish the cutting with a jig saw.
Once all the holes were cut and cleaned out using the jigsaw, it was now time to round over the edges. For this we used a router and a round over bit.

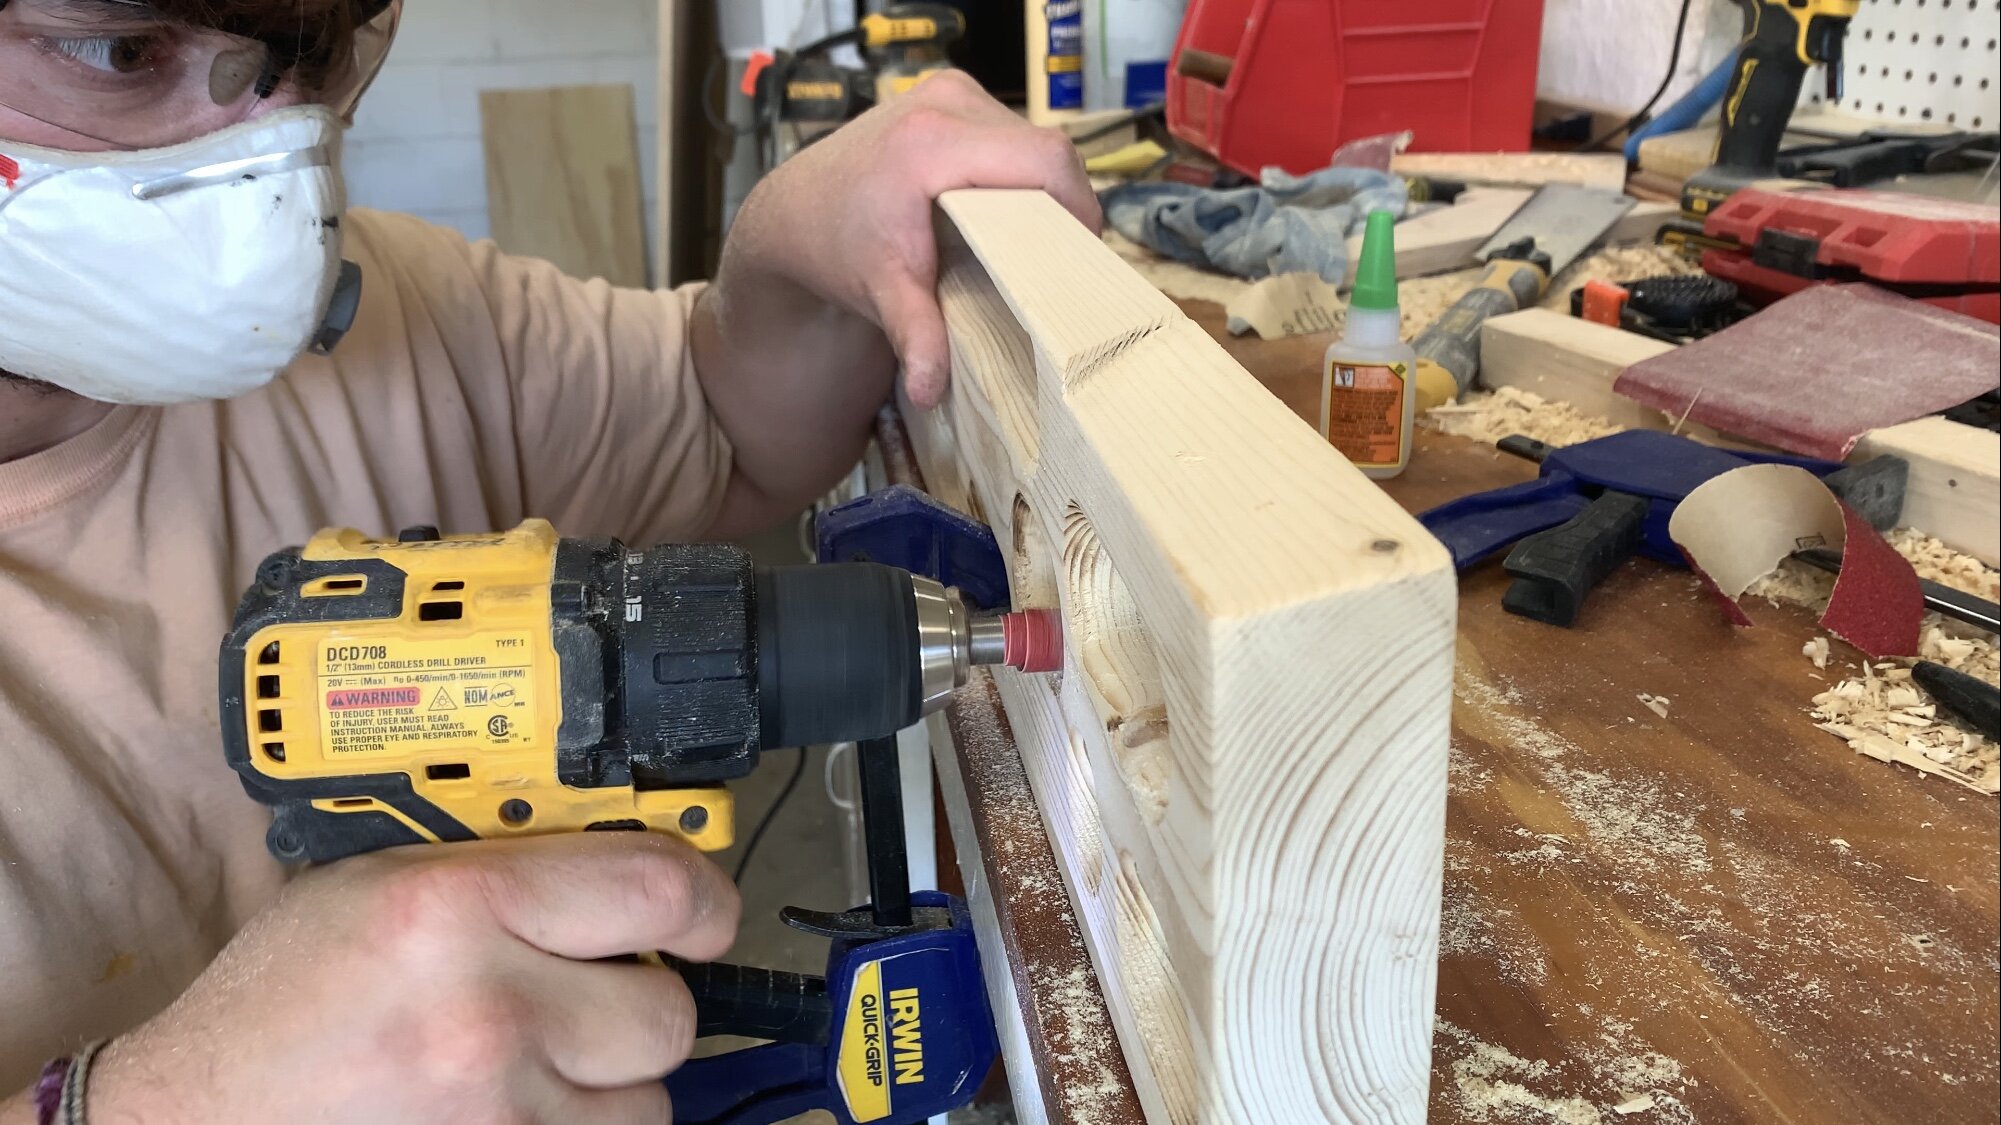
Now that the edges were smooth, we needed to clean up the inside edges. To do this we sprayed adhesive on the back of 80 grit sandpaper and rolled it onto a ½” drill bit. We then stuck the drill bit into the drill and used that as a makeshift oscillating spindle sander to sand the inside of the holes. We finished using 160grit sand paper for a smoother finish.

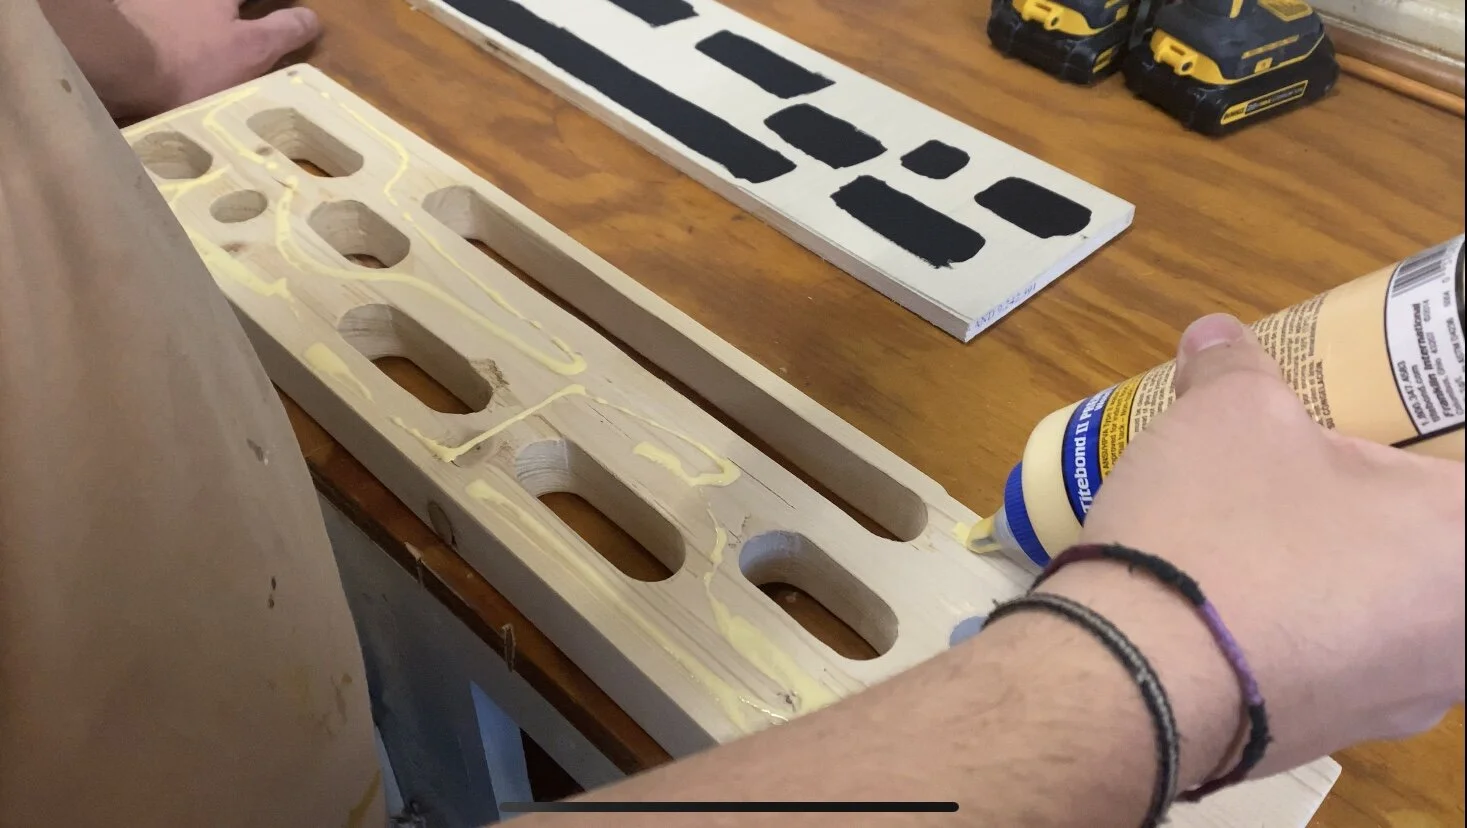
Now that the holes were cleaned and finished, we then cut ½” ply the size of our board. This was going to be the back. We then painted it black. Once the paint was dry we fixed it to the back of the hangboard.
We then stained it using dark walnut stain and finished with 3 coats of polyurethane.

Once everything was dry, we had to figure out how to mount it to the top of our sliding door frame. The top of the door is at an angle and we needed the hangboard to be straight so we had to counter that angle.

We found the angle four our van to be 30 degrees. So we cut a long strip at a 30 degree angle and mounted that to the top of the door frame. This now allowed us to mount the hangboard flat onto the wood mounted to the frame.

Once it was mounted, we tested it to see if would hold our weight, and thankfully it did!


Solar Panel Installation
Trying to figure out how to power your van but too scared to mess with solar? Don’t be scared— read this to get started!
Materials:
Two Renogy 300W 24V Monocrystalline Panels
2 Sets Renogy Solar Panel Mounting Z Bracket set of 4
Dicor Self-leveling lap sealant, white
Renogy 10ft 10AWG Solar Panel and Controller Connector Adaptor Wire Extension Cables
Link Solar Weatherproof ABS Solar Double Cable Entry Gland
Tools:
Tape Measure
Pencil
Metal Drill Bits
Drill
Ratchet set
The Build:
Those who seek and have chosen van-life are really after the nomadic lifestyle; the ability to travel and go anywhere, the freedom to live off-grid. We believe the key to living off-grid is living off solar. And since we were planning to live in the van while building it out, we knew solar was going to be one of our first installs.
We sized our solar system based off of what would fit on our roof, what appliances/devices we were going to power, and ultimately, how many panels we would need to fully charge our batteries each day (blog for that mechanism coming soon.)
We determined we needed 600w of solar and immediately got to researching. After hours of reading endless reviews, we were set on two 300w panels from Renogy.
Next, we needed to figure out how we were going to mount them to the roof. We had initially ordered the Renogy Z brackets to aid in the install, however they required 2 screws, each drilled into the roof of the van. That’s 16 holes into our roof!!! Enough said. We didn't like that idea; more holes means more risk of having a leaky roof. We wanted something sturdy that didn’t require as many holes and we also knew we wanted something modular that allowed us to mount other things in the future, such as cargo, roof deck, awning, etc. Some suggested purchasing a ladder rack or roof rack but that was out of our budget. So we decided to mimic a roof rack by using unistrut channels.
We started by measuring the roof of the van to determine where we wanted to mount the unistrut channels. We needed at least 10ft in length and 5ft wide. We then placed one unistrut channel on each side of the roof and marked where holes needed to be drilled. Once the holes were marked, we drilled ½” holes through the roof (terrifying). Metal shavings were cleaned up and the edges were painted with white rustoleum paint to prevent rust (key). The unistrut channels were lined up with the drilled holes and mounted using 1 ¼” Grade 8 bolts, nuts and washers. Self-leveling lap sealant was then used to waterproof and seal up any gaps around the rims of the bolts (also KEY).

We didn’t have a ladder at the time, so we pulled the van next to our back porch (of our rental house at the time) where we climbed up the railing to get onto the van roof. It wasn’t the safest thing to do, but it worked. Sarah is only 5’ 1” so it was really the only way we were getting these giant panels on the roof with just us two.

We had to do a dry fit to determine where we were going to mount them, make sure we liked the setup, so we lugged up both panels and spaced them accordingly and marked where I needed to drill holes.

These panels come with mounting holes, but of course (as all great van things go) they did not line up to where we needed to mount them, so we had drilled our own. We then flipped the solar panels face down and drilled holes where marked using drill bits specifically made for metal.

The next step was to mount the solar panels to the unistrut. Unfortunately there wasn’t enough clearance to mount the solar panels directly, so we needed some sort of bracket to add space. We decided that since we had already purchased the Renogy Z brackets, we could put them to use. We bolted the Z brackets in 4 places onto both solar panels where we drilled each hole (stay with me here.) Next, we fastened the spring strut nuts to the unistrut, then bolted the Z brackets (attached to the solar panels) to the spring nut.

Once the solar panels were securely mounted, we drilled two ½” holes into the back of the roof to feed the solar cables into the van. We then wired our solar panels in series (first panel negative goes to second panel positive, first panel positive goes to the charge controller and second panel negative also goes to the charge controller) and fed them through the waterproof cable gland which puts them through the roof and into the van. We then secured the cable gland to the roof surface with butel tape and self tapping screws, sealing it using self leveling lap sealant.
Once the cables were fed into the van, we realized they were not going to reach where we wanted our charge controller (make sure to measure, measure, measure!!) So we had to attach a 10ft extension cable and then added a 15amp in line fuse.
Finally, we were able to wire the solar panels into our MPPT charge controller. (IMPORTANT: Always hook your battery to your charge controller before hooking up solar panels to prevent burning up your charge controller).
And there you have it! Power!
I hope this helped you to connect your power. If you have any questions, as always, feel free to email us or message us on Instagram.
Happy Building!

Van Roof Deck: Design and Layout
This is our absolute favorite spot in (or on) the house…and we want you to have one too! Easy deck build guide right at your finger tips!

Materials:
5/4” x 6’ x 10’ Pressure treated standard deck boards
2” x 4” x 10’ standard pressure treated lumber
10ft 14 guage 1-⅝” unistrut channel
4 Superstrut ½” Spring Strut Nuts
4 Grade 8 2” ½” bolts
4 1” ½” washers
Optional: 1” scrap wood for deck board spacing.
Tools:
Tape Measure
Pencil
Speed Square
Miter Saw
Drill
Impact Driver
1” spade drill bit
½” drill bit
T15 Star bit
Preparation:
To begin the roof deck build, we chose pressure-treated lumber. Not only is it standard for decks, it’s made to withstand any and all weather conditions. Our original plan was to stain it with a natural cedar waterproofing stain right away, however, after buying the stain we learned that you need to wait at least 6 months for the treated lumber to dry out before it can be stained… so unfortunately we have to wait and thus we move on to the next step…

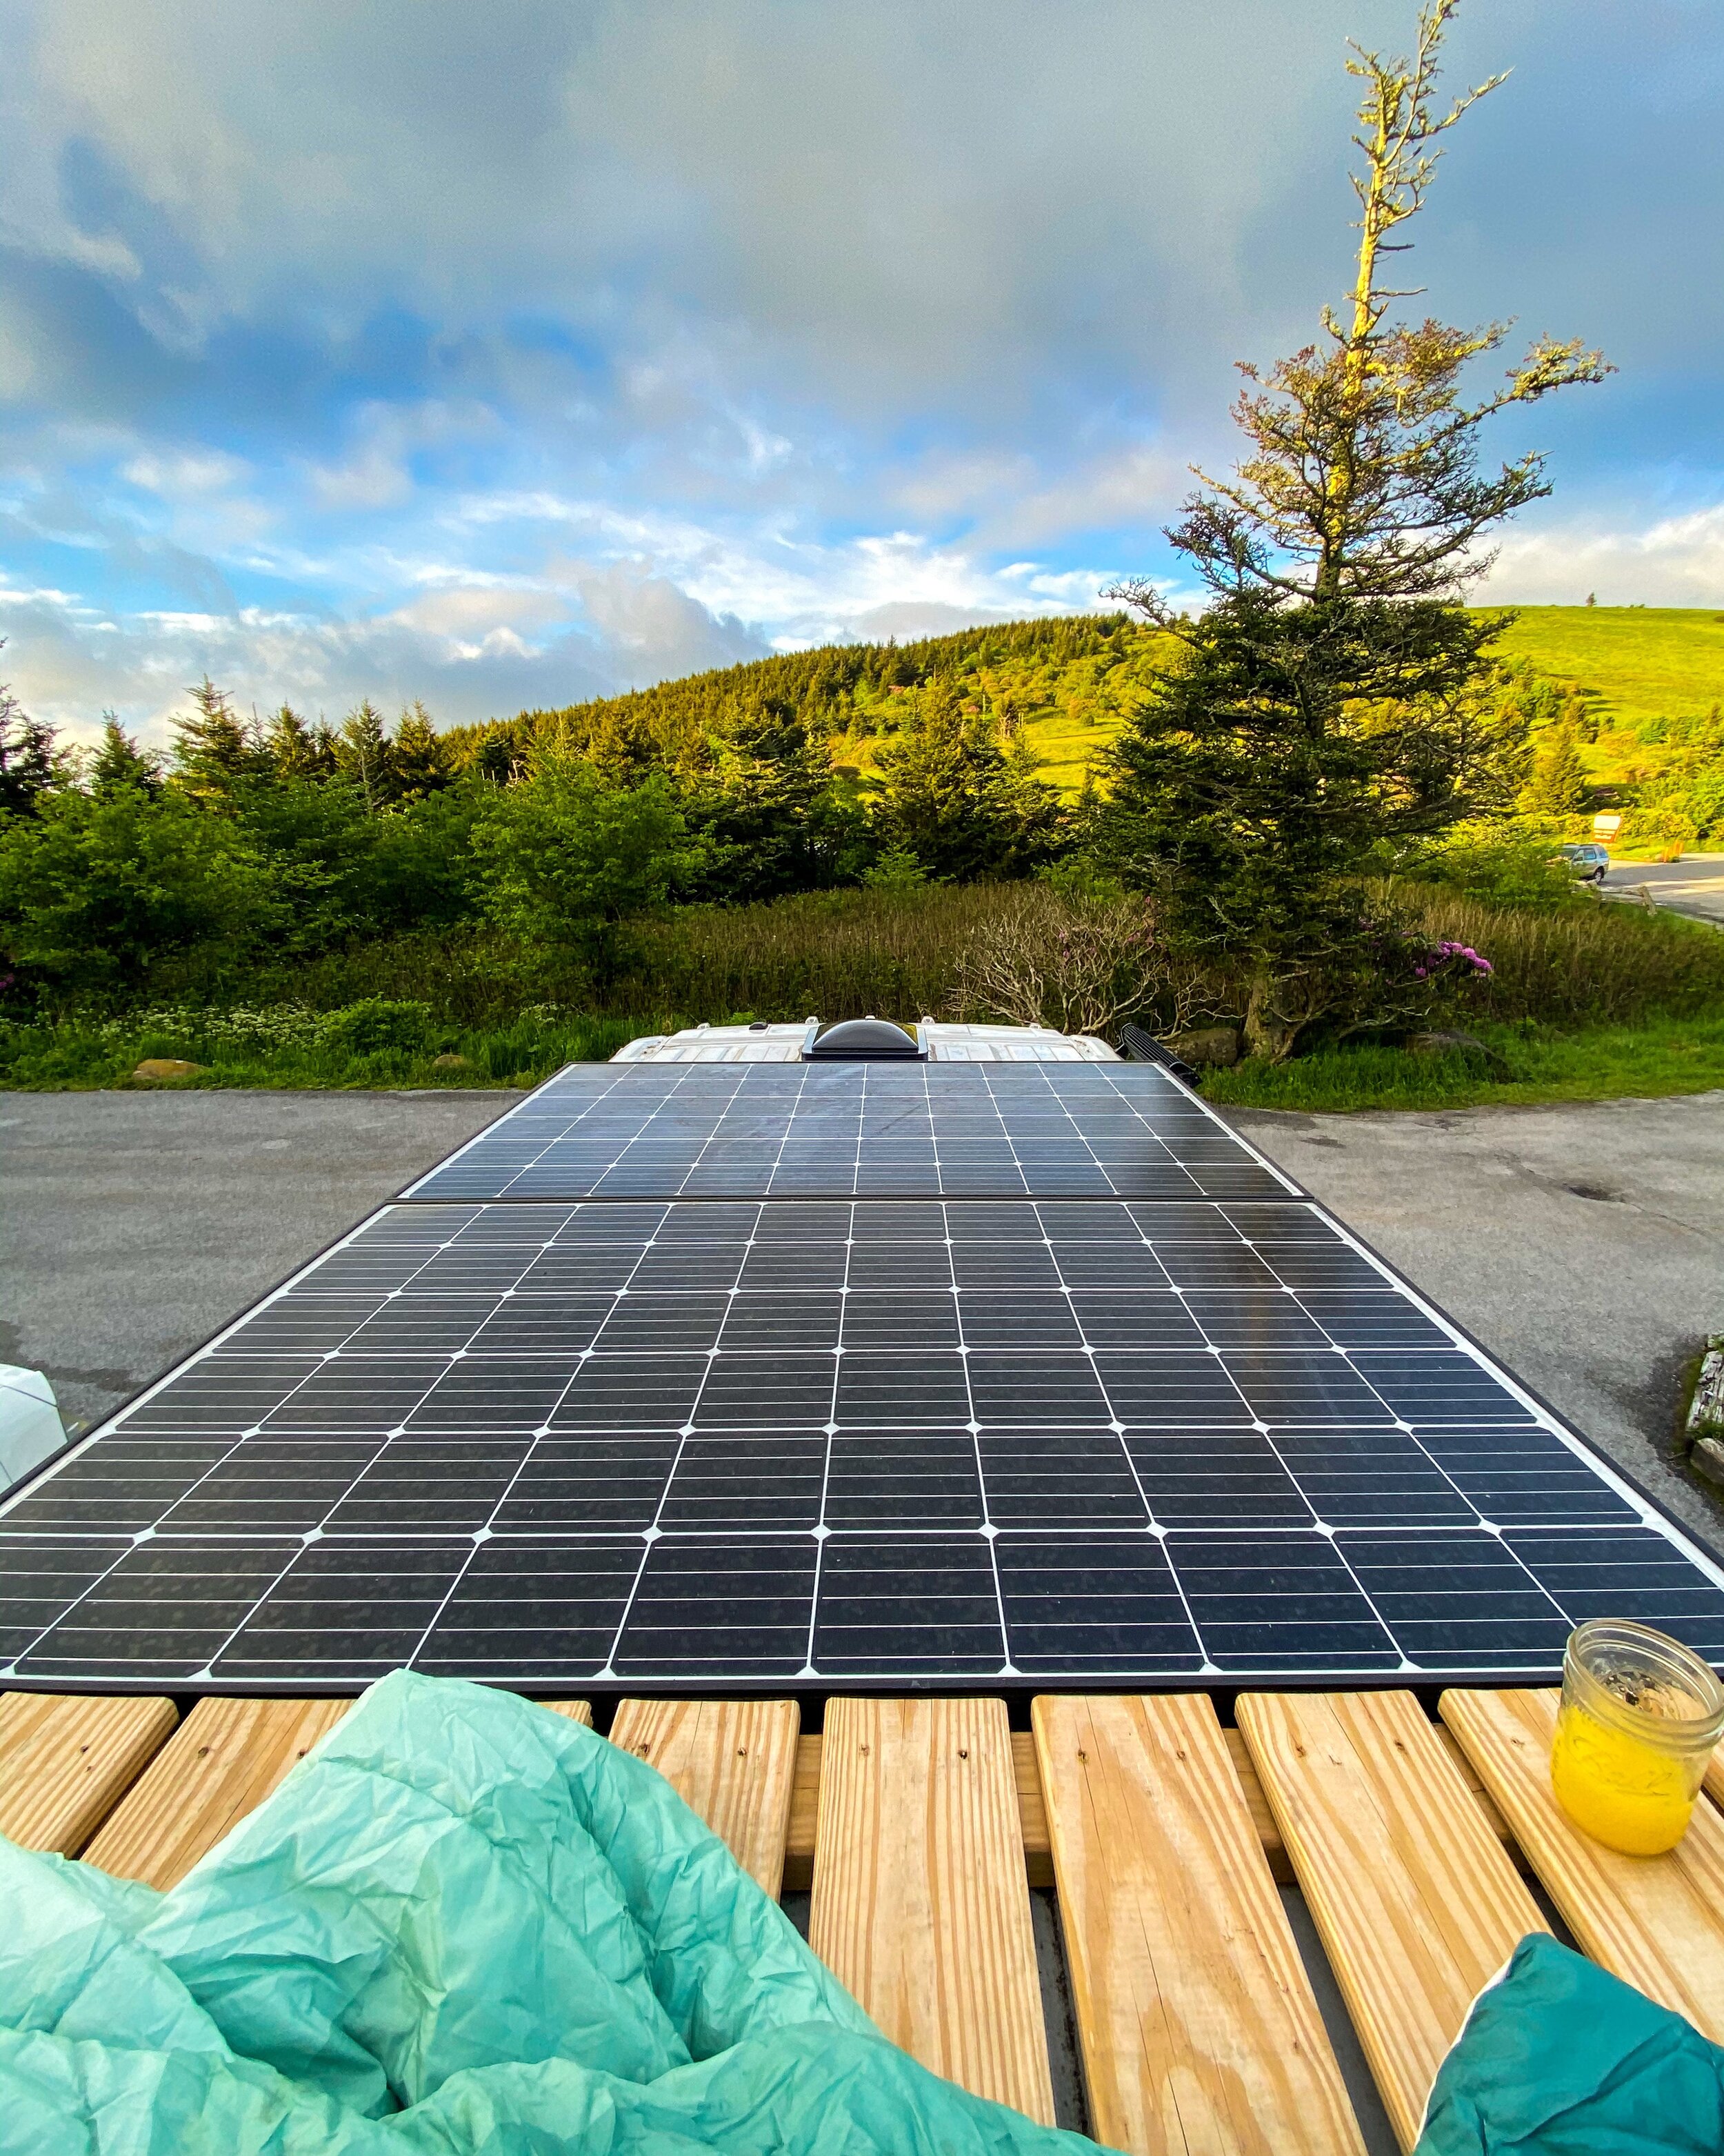
We started by installing the unistrut channels which we chose for the mounting system for our deck (installing a ladder rack on the roof was just way out of our budget.) The unistrut channels we used were two 10ft 14 guage 1-⅝” running lengthwise on each side of the roof. This allowed us a place to mount our Solar Panels and eventually our roof deck.
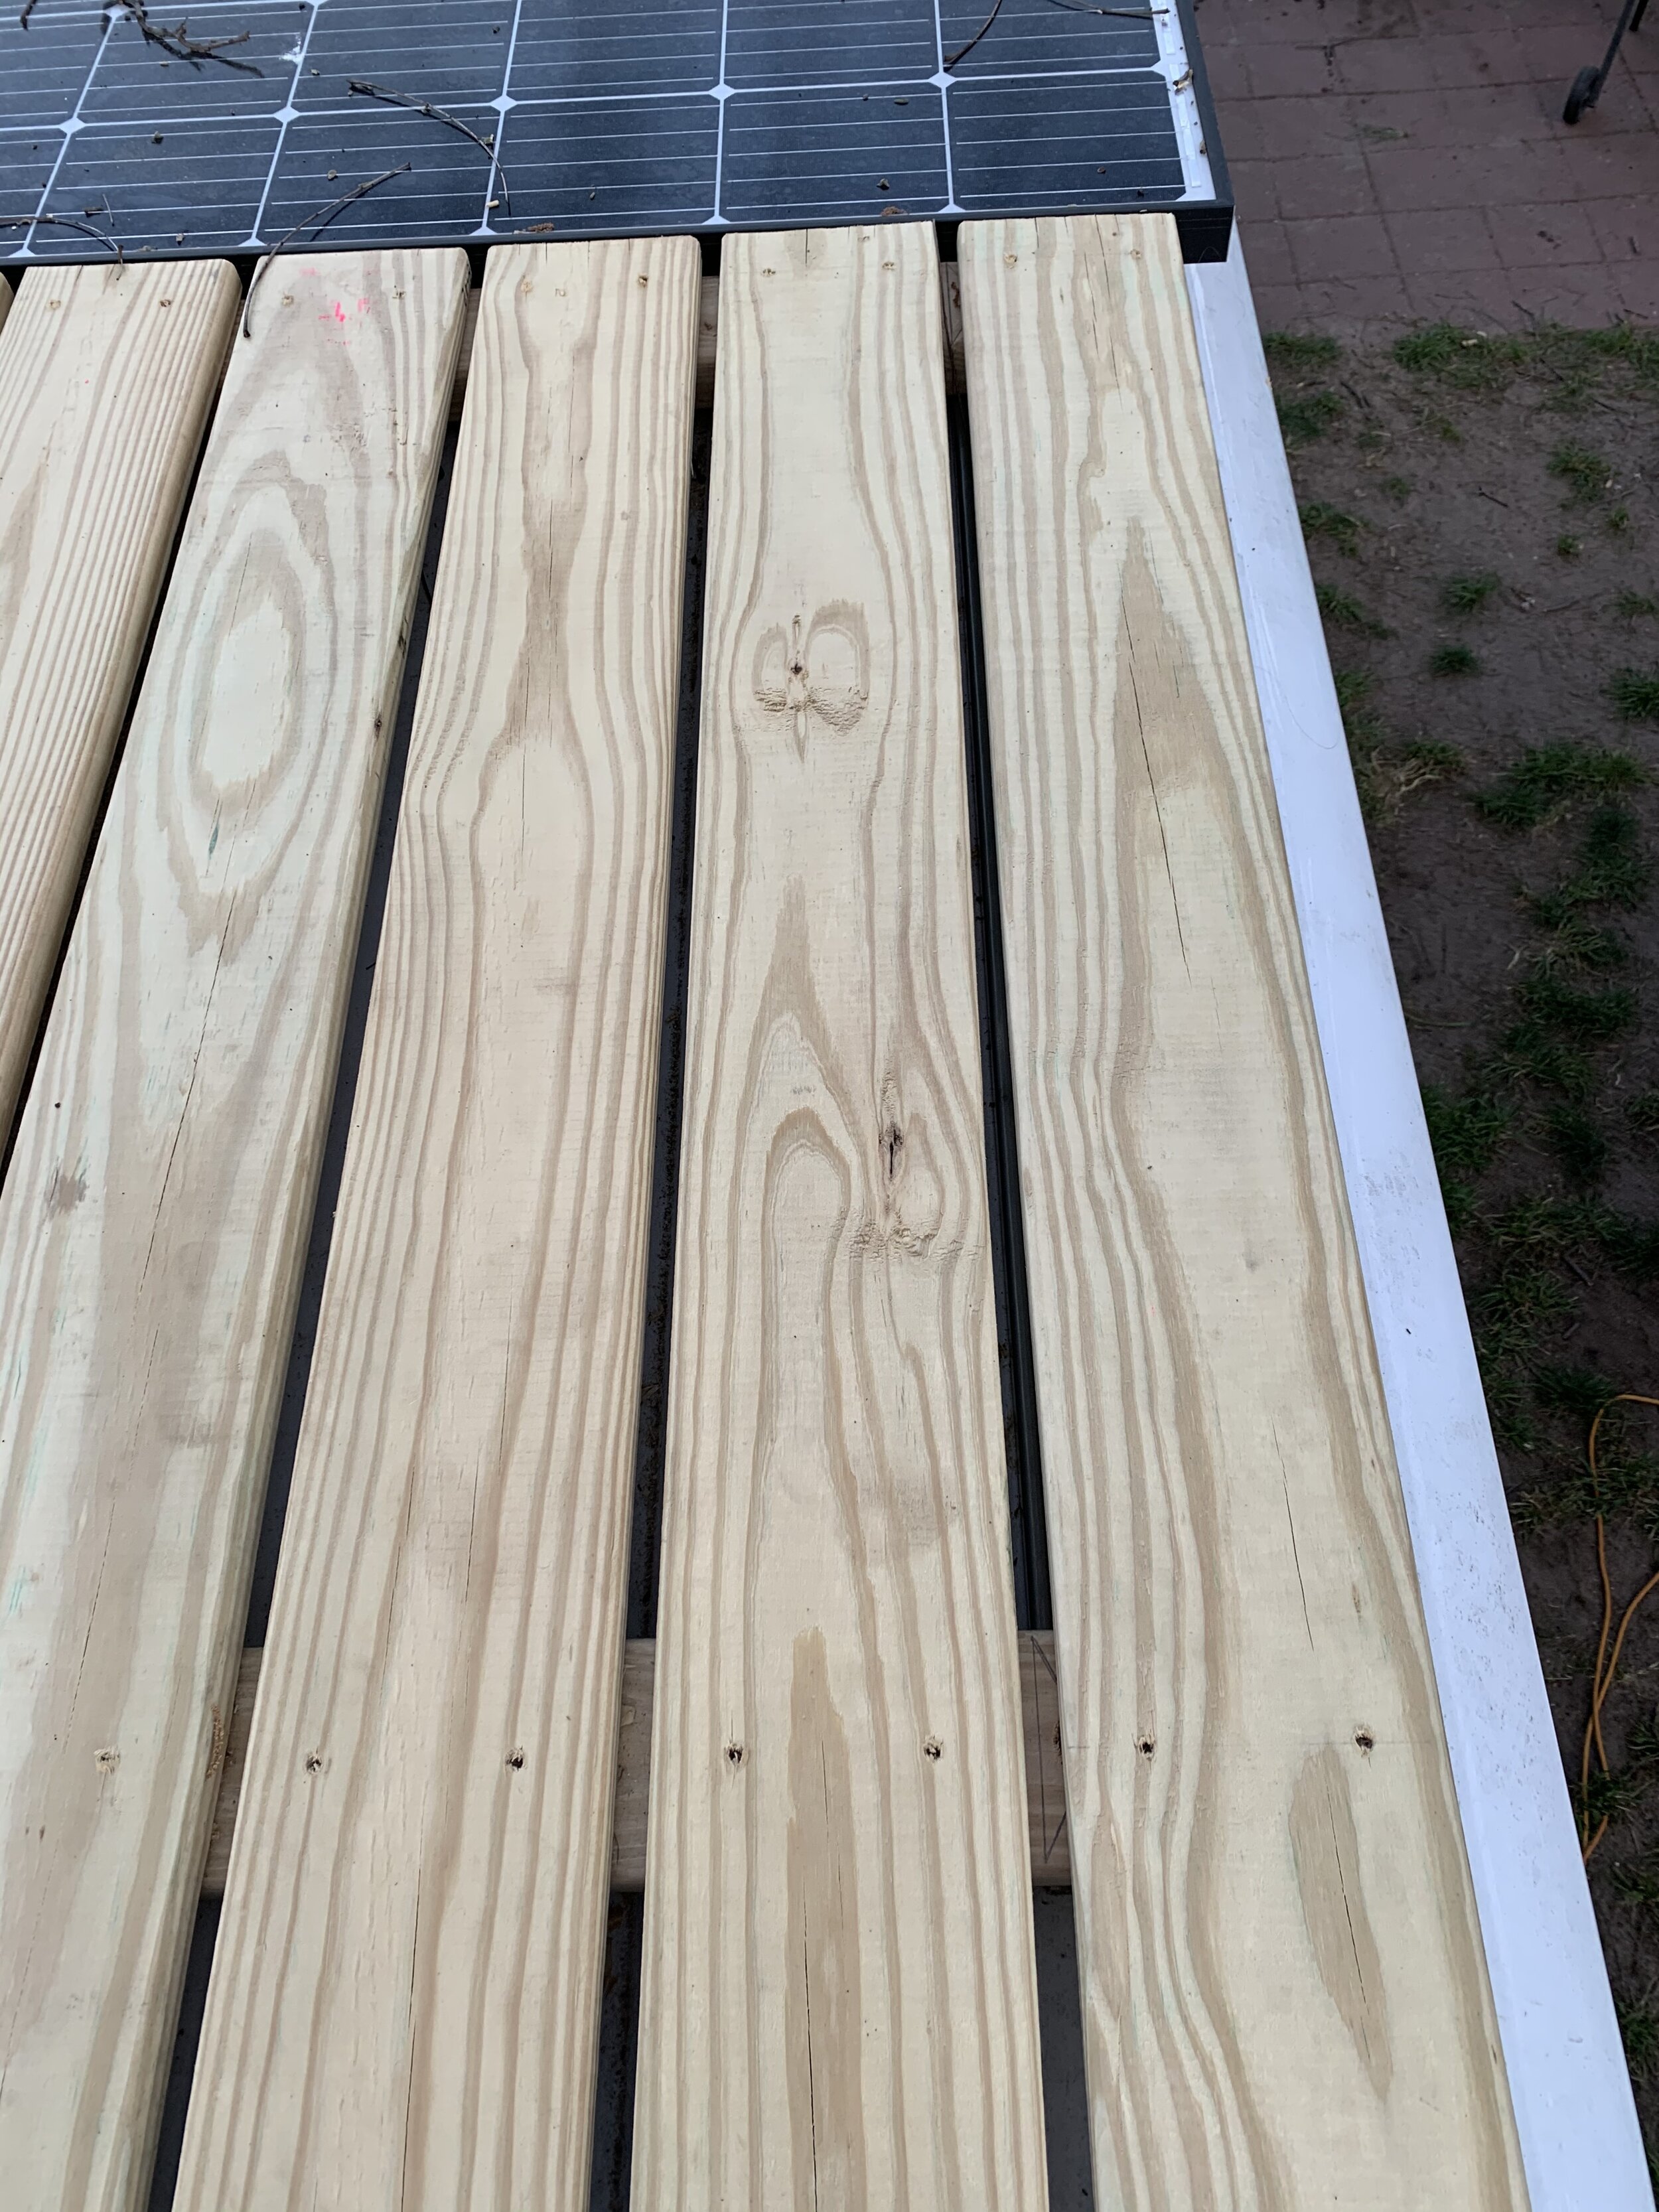
Depending on the size you want your deck or how much real estate you have on your roof, the dimensions will vary. We started out by measuring how wide and long we wanted our deck. We wanted it to be wide enough so that we felt safe from falling off and overall just comfortable. We also didnt’t want it so wide that it jeopardizes our stealthiness and gas mileage. We landed on 55” long and 61” wide. We then cut the 2x4” boards into 5’ lengths and cut the deck boards (⅝” x 6”) into 6ft lengths.
Once we had all the lumber cut to size we laid out the boards on our deck to make a mock up before toting them up onto the roof (it never gets easy). We laid the two 2x4” boards on each end as the width and then laid the deck boards across while spacing each out by ½” between each board.
Installation:

To begin installing our deck, we had to determine where we would attach the 2x4 boards to the unistrut channels on the roof. We then used a 1” spade drill bit to bore out a 1/2” deep hole on all four areas of attachment. This was done to make a flush surface and make space for the washer and bolt.
We then drilled a ½” size hole through the middle for the ½” bolt and fastened the spring nuts into the unistrut channels where we then screwed the 2” ½” bolts and washers through the board and into the spring nut.
Now onto the fun part!
Now that our frame was in place we could start installing the deck boards, we brought two boards up at a time to determine correct spacing and screw placement for aesthetic purposes. We then used an impact driver to drive the deck screws through the boards into the frame, 2 on each end. Once all boards were installed, we tested to see if it was secure (safely, of course).

With our new safe and secure roof deck, we wanted to put it to immediate use. We grabbed some drinks (one water, one wine) and a deck of cards and climbed back up onto our new deck where we’d spend the rest of the evening.
This is by far our favorite build to date. It’s already held so many sunsets and memories and we can’t wait for many more.
Happy Building!