Van Roof Deck: Design and Layout

Materials:
5/4” x 6’ x 10’ Pressure treated standard deck boards
2” x 4” x 10’ standard pressure treated lumber
10ft 14 guage 1-⅝” unistrut channel
4 Superstrut ½” Spring Strut Nuts
4 Grade 8 2” ½” bolts
4 1” ½” washers
Optional: 1” scrap wood for deck board spacing.
Tools:
Tape Measure
Pencil
Speed Square
Miter Saw
Drill
Impact Driver
1” spade drill bit
½” drill bit
T15 Star bit
Preparation:
To begin the roof deck build, we chose pressure-treated lumber. Not only is it standard for decks, it’s made to withstand any and all weather conditions. Our original plan was to stain it with a natural cedar waterproofing stain right away, however, after buying the stain we learned that you need to wait at least 6 months for the treated lumber to dry out before it can be stained… so unfortunately we have to wait and thus we move on to the next step…

We started by installing the unistrut channels which we chose for the mounting system for our deck (installing a ladder rack on the roof was just way out of our budget.) The unistrut channels we used were two 10ft 14 guage 1-⅝” running lengthwise on each side of the roof. This allowed us a place to mount our Solar Panels and eventually our roof deck.
Depending on the size you want your deck or how much real estate you have on your roof, the dimensions will vary. We started out by measuring how wide and long we wanted our deck. We wanted it to be wide enough so that we felt safe from falling off and overall just comfortable. We also didnt’t want it so wide that it jeopardizes our stealthiness and gas mileage. We landed on 55” long and 61” wide. We then cut the 2x4” boards into 5’ lengths and cut the deck boards (⅝” x 6”) into 6ft lengths.
Once we had all the lumber cut to size we laid out the boards on our deck to make a mock up before toting them up onto the roof (it never gets easy). We laid the two 2x4” boards on each end as the width and then laid the deck boards across while spacing each out by ½” between each board.
Installation:

To begin installing our deck, we had to determine where we would attach the 2x4 boards to the unistrut channels on the roof. We then used a 1” spade drill bit to bore out a 1/2” deep hole on all four areas of attachment. This was done to make a flush surface and make space for the washer and bolt.
We then drilled a ½” size hole through the middle for the ½” bolt and fastened the spring nuts into the unistrut channels where we then screwed the 2” ½” bolts and washers through the board and into the spring nut.
Now onto the fun part!
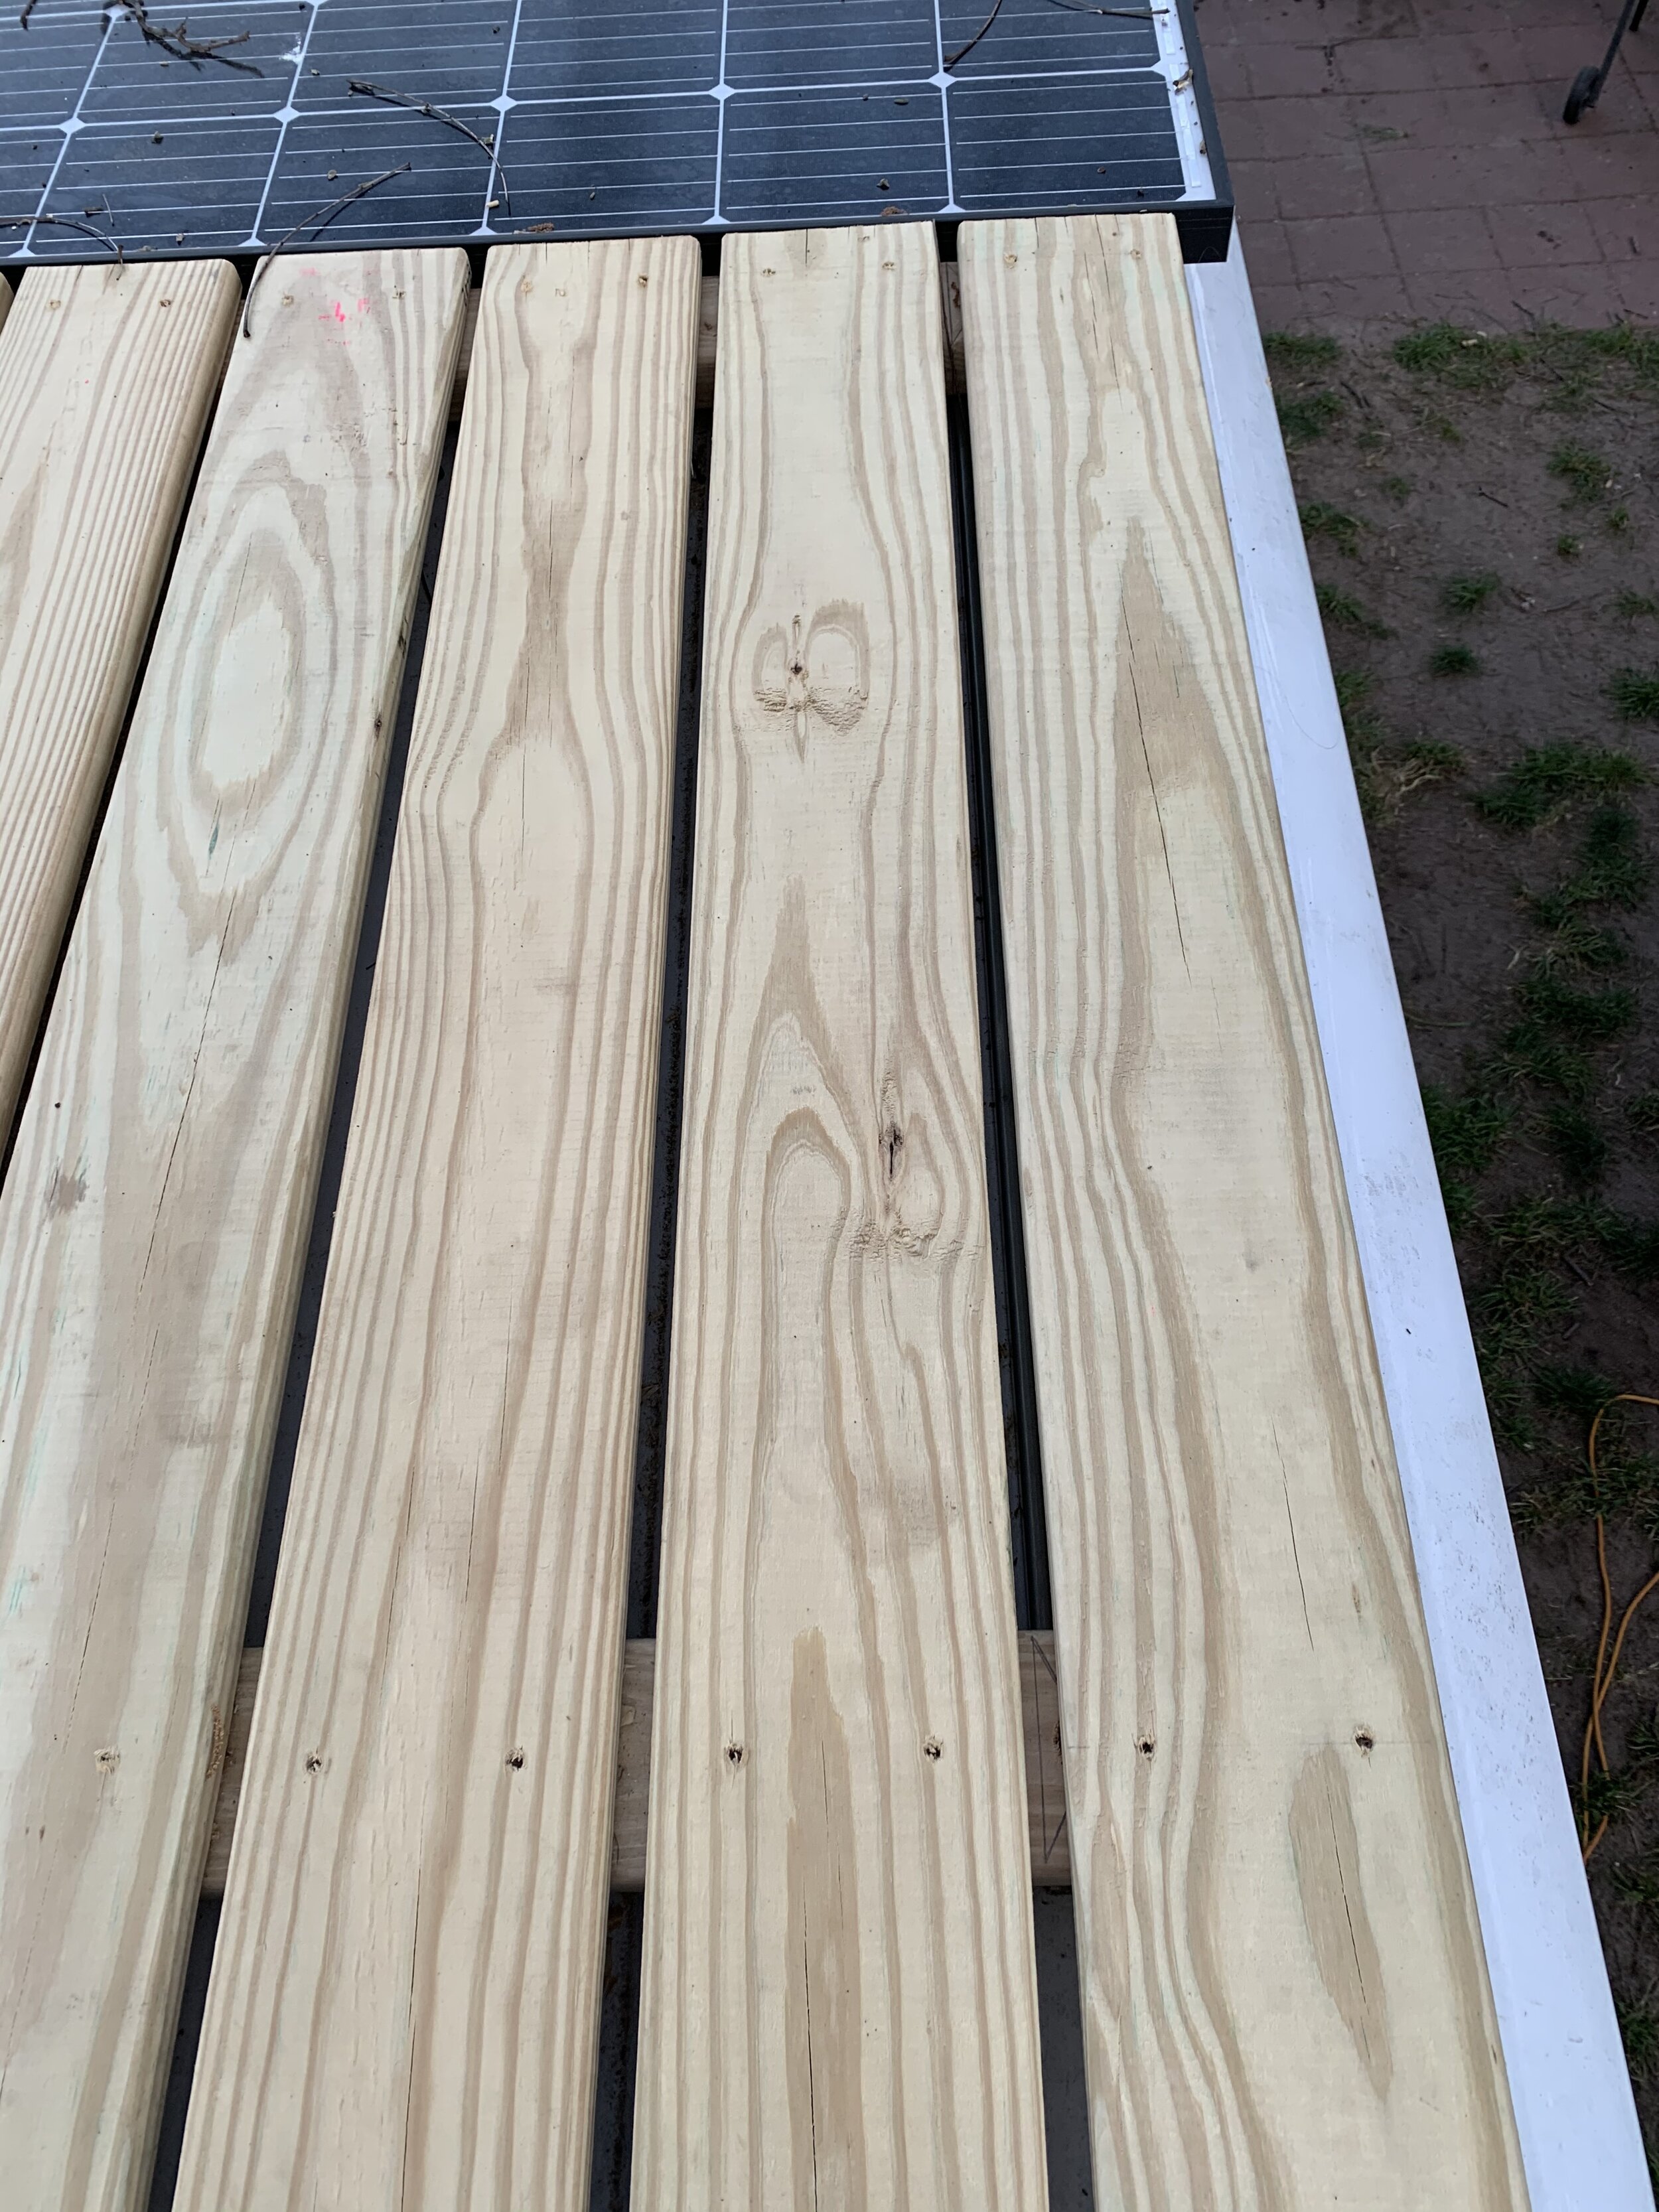
Now that our frame was in place we could start installing the deck boards, we brought two boards up at a time to determine correct spacing and screw placement for aesthetic purposes. We then used an impact driver to drive the deck screws through the boards into the frame, 2 on each end. Once all boards were installed, we tested to see if it was secure (safely, of course).

With our new safe and secure roof deck, we wanted to put it to immediate use. We grabbed some drinks (one water, one wine) and a deck of cards and climbed back up onto our new deck where we’d spend the rest of the evening.
This is by far our favorite build to date. It’s already held so many sunsets and memories and we can’t wait for many more.
Happy Building!